Under-ventilated attics cause ice dams, frost on roof sheathing, and slow moisture damage to framing. Warm air escapes through the roof deck, melts snow at the ridge, refreezes at the eaves, and water finds its way under the shingles. In a Canadian climate, that pattern repeats every winter until the intake side is fixed.
This guide walks installers, contractors, and homeowners through the calculation, vent type selection, install sequence, and the common errors that quietly under-ventilate Canadian attics. Get the intake wrong, and the rest of the system does not matter.
Understanding Soffit and Its Importance in Ventilation
What is a Soffit?
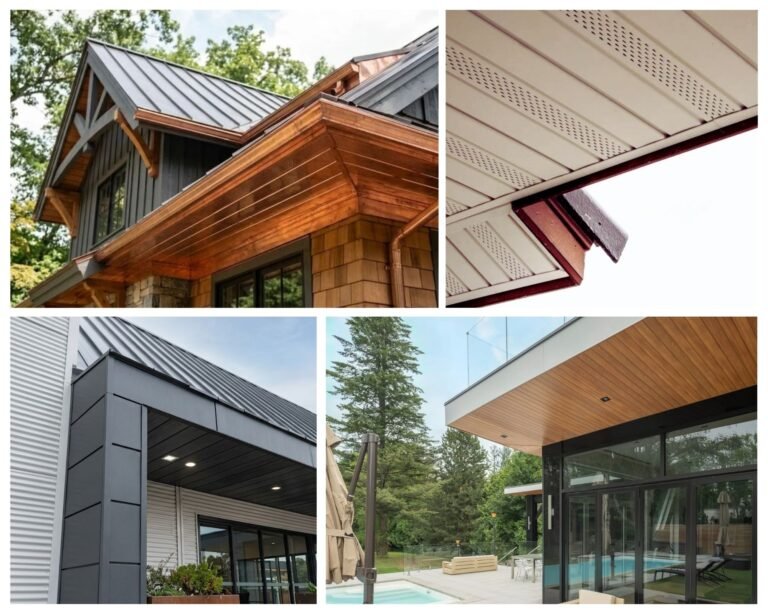
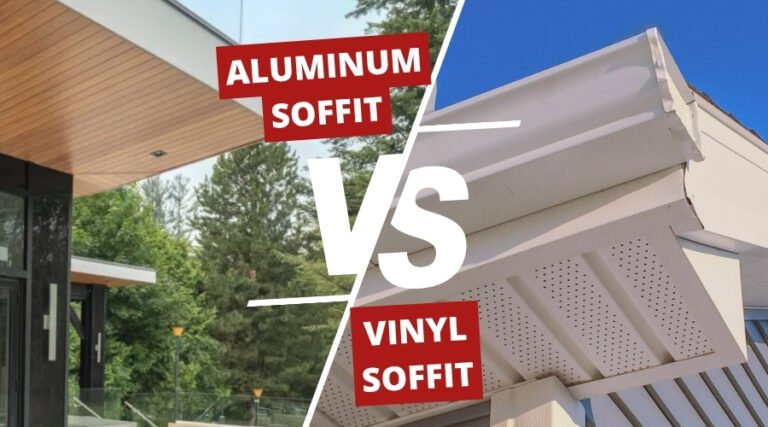
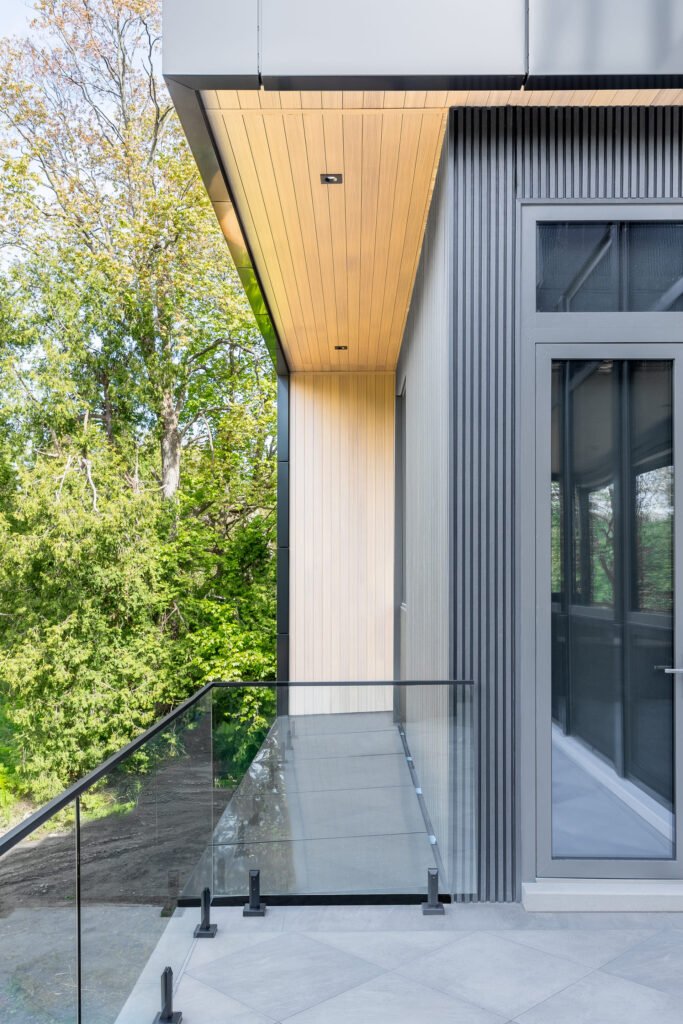
A soffit is the horizontal underside of the eave, closing the gap between the exterior wall and the roofline. Across the GTA and Ontario, soffits are made from vinyl, wood, or aluminum. VEDREX manufactures extruded aluminum soffit systems in 6063-T6 alloy with solid and perforated panels for vented assemblies.
Role of Soffit Vents in Home Ventilation
Soffit vents are the intake side of a passive ventilation system. Cool air enters at the eaves, rises through the attic, and exits at the ridge via the stack effect. In a Canadian winter, that airflow keeps the attic cold and uniform, preventing ice dams and the moisture damage that follows.
How to Determine Your Soffit Venting Needs
Getting the numbers right takes three steps: measure your attic floor area, confirm your vapour barrier status, then run the calculation. The wrong ratio leaves you under-ventilated regardless of vent count.
Step 1: Assess Your Attic Space
Measure your attic floor area in square feet. Then confirm whether your attic has a Class I or Class II vapour barrier on the warm side of the insulation. This determines which ratio applies:
- Vapour barrier present: use the 1:300 rule (NBC 9.19.1 baseline)
- No vapour barrier, or more than one-third of ventilation at ceiling level: use the 1:150 rule
In Canadian retrofits, vapour barriers are often absent in pre-1980s homes. When in doubt, apply the 1:150 rule.
Step 2: Calculate Ventilation Requirements
Worked example for a 1,200 sq ft attic with vapour barrier present (divide floor area by 300):
- Total NFVA required: 1,200 / 300 = 4 sq ft (576 sq in)
- Split 50/50: 288 sq in at the soffit, 288 sq in at the ridge or roof
- Some codes allow up to 60% intake / 40% exhaust for design flexibility
When intake significantly exceeds exhaust, negative pressure draws conditioned air out through ceiling gaps and routes warm humid air into the attic.
The National Building Code of Canada (NBC 9.19.1) sets the baseline: 1 square foot of net free vent area (NFVA) per 300 square feet of attic floor space when a vapour barrier is present, or 1:150 without one. The math is simple. The mistakes (clustered vents, blocked baffles, mismatched intake-to-exhaust ratios) are where most retrofits fail.
Step 3: Identify the Number of Soffit Vents Needed
Use the rated NFA on the product label (not the physical vent size) to translate your intake target into a vent count.
Continuing the same 1,200 sq ft example:
- Standard 4-inch round soffit vents: 8 to 12 sq in NFA each. At 10 sq in average: 288 / 10 = 29 round vents
- Continuous perforated aluminum soffit: 8 to 10 sq in NFVA per linear foot. At 9 sq in per foot: 288 / 9 = 32 linear feet of perforated panel
- VEDREX vented profile (2.5″ wide x 12′ long) at 21% net free airflow: 360 sq in gross x 21% = 75.6 sq in NFA per 12′ panel, or roughly 6.3 sq in NFA per linear foot. For the 288 sq in intake target: 288 / 75.6 = 4 panels (48 linear feet)
On a home with 140 linear feet of eave, that 32 to 48 feet is under a third of the total, leaving room for solid panels where the design requires them.
Types of Soffit Vents: Which One is Right for You?
The right vent type depends on whether you are doing a new build, a full replacement, or a targeted retrofit.
Continuous Soffit Vents
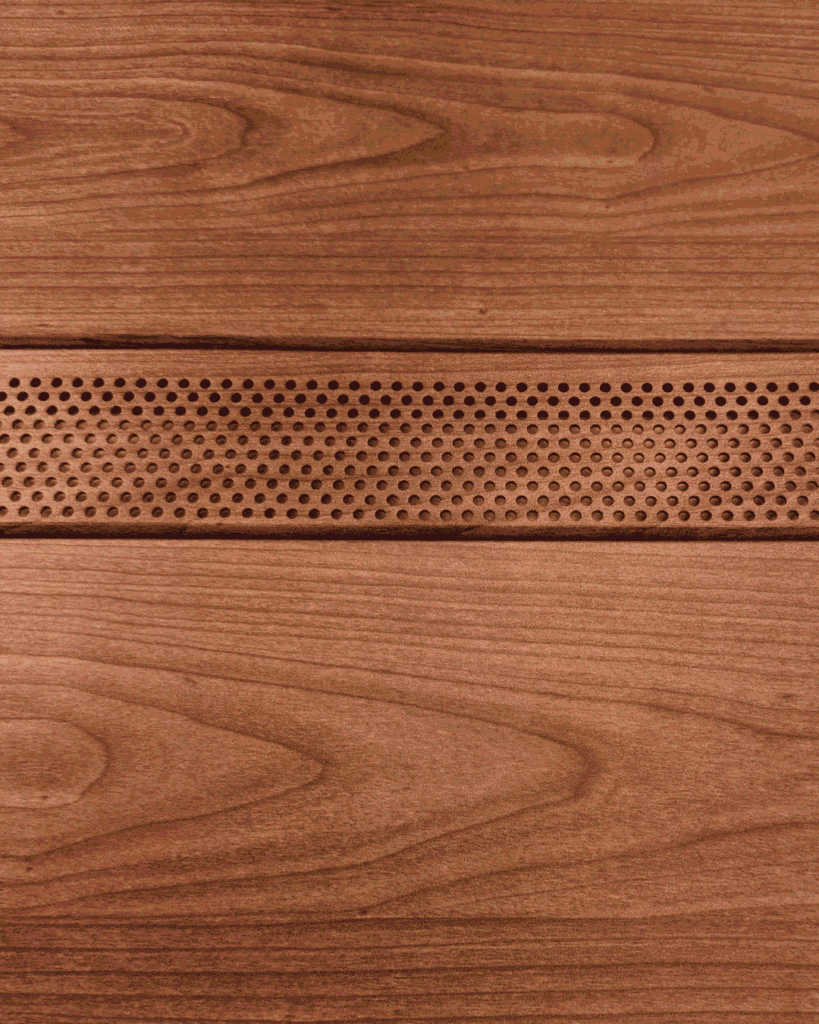
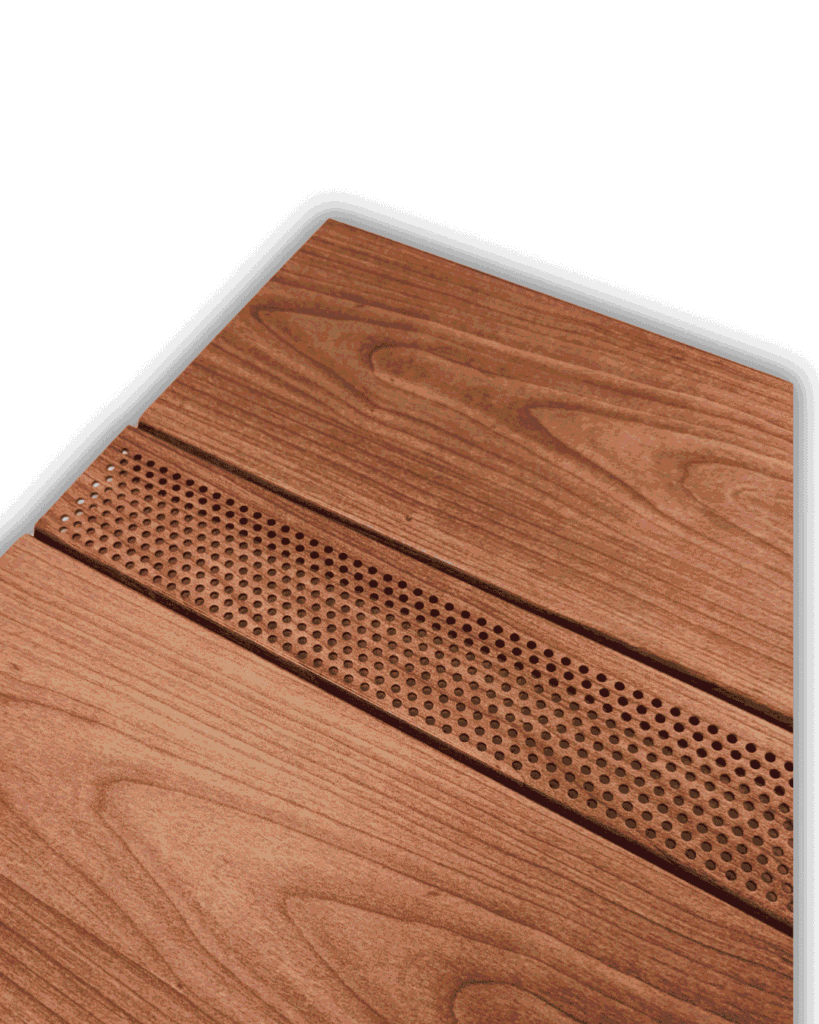
Continuous soffit vents run the full eave length as a perforated or slotted panel. VEDREX perforated aluminum soffit panels in 6063-T6 alloy carry a factory-controlled NFA rating per linear foot. The VEDREX 2.5″ wide x 12′ long vented profile delivers 21% net free airflow, giving installers a predictable intake number to design against. Even distribution across the full eave prevents the uneven snow melt that leads to ice dam formation — VEDREX vented profile should be spaced evenly around the perimeter rather than clustered in one section.
Rectangular and Circular Soffit Vents
Individual soffit vents are cut into a solid panel as round or rectangular inserts. Round 4-inch vents are most widely available at Canadian supply outlets. Space them 4 to 6 feet on centre. Clustering vents in one section creates dead zones further along the roofline.
Pros and Cons of Each Type
Continuous perforated soffit panel:
- Even intake distribution across the full eave length
- Factory-controlled NFA, no guesswork in calculations
- Higher upfront material cost
Individual vents (round or rectangular):
- Lower cost, widely available at supply outlets
- Well suited for targeted retrofits
- Requires careful even spacing to avoid dead zones
✅ Verdict: Continuous perforated panel for new builds or full replacements. Individual vents for retrofits when the NFA target is met and spacing is even.
Installing Soffit Vents: A Step-by-Step Guide
The calculation tells you what you need. Installation methodology determines whether it works. Most failures traced back to soffit venting are installation failures, not product failures.
Step 1: Gather Tools and Materials
You will need: measuring tape, drill with hole saw or jigsaw, tin snips, vent units rated for the required NFA, and rafter baffles. Baffles maintain a minimum 2-inch clear airway from the soffit to the attic. In a Canadian climate, they are not optional.
Step 2: Preparing the Soffit for Vent Installation
Mark vent locations 4 to 6 feet on centre along the eave. Cut the opening with tin snips and a fine-cut blade. Check from the attic that the rafter bay is clear and that a baffle can channel air above the insulation line.
Step 3: Sealing and Finishing Vents Properly
Secure the vent body per the manufacturer’s instructions. Avoid over-driving screws into aluminum panels. Install rafter baffles at each location, from the soffit opening up past the insulation line onto the roof deck. This is the step most often skipped in DIY work, and the one that makes every other step count.
Common Installation Mistakes and How to Avoid Them
These are the four mistakes we see most often in Canadian retrofits.
Blocking vents with insulation is the most frequent failure. Without rafter baffles before blow-in insulation, the eave airway closes entirely. Vents that look fine from below do nothing from above.
Clustering vents creates dead zones along the rest of the eave. Spot-ventilating one section does not substitute for distributed intake.
Ignoring the vapour barrier status leads to applying 1:300 when 1:150 is required. In a cold Canadian winter, that under-venting produces attic humidity and frost on the roof sheathing.
Overlooking screen reduction: insect screens cut effective NFA by 25 to 50%. Confirm the rated NFA on the label accounts for the screen, or your actual intake area may be half what you calculated.
Integrating Soffit Vents with Other Ventilation Solutions
Soffit intake does not function in isolation. Performance depends on what is happening at the exhaust side.
Understanding Balanced Ventilation Systems
A balanced system keeps intake and exhaust within the 50/50 to 60/40 ratio. When mismatched, air finds its way in through pot light gaps, ceiling penetrations, and fan backdrafts, routing warm, humid air into the attic and producing frost and mould on framing.
Complementary Ventilation: Ridge and Gable Vents
Ridge vents paired with full-eave soffit intake produce consistent airflow with no dead zones. Gable vents ventilate horizontally and can short-circuit the soffit-to-ridge path. Ridge venting with soffit intake is the more reliable system for Canadian construction: it works with the stack effect.
Utilizing Power Vents and Wind Turbines for Optimal Performance
Power vents and wind turbines supplement passive exhaust on low-pitch roofs where ridge venting is insufficient. NBC 9.19.1 ratios apply regardless of whether exhaust is passive or powered. When soffit intake cannot keep pace with powered exhaust, the fan draws air through unintended gaps in the building envelope.
Maintaining Your Soffit Vents for Long-Term Performance
A correctly installed system requires minimal maintenance, though Ontario’s freeze-thaw climate makes twice-yearly checks worthwhile.
Regular Cleaning and Inspection Guidelines
Inspect soffit vents in early spring and late fall. Check for paint overspray blocking perforations, damaged screens, and moisture staining near the eave. For VEDREX aluminum soffit systems, a garden hose rinse is sufficient: the 6063-T6 alloy does not rust or peel.
Dealing with Pests and Debris
Intact insect screens are your primary defence against nesting. Check for tears after each winter. Wasps commonly target soffit vents in late spring; a single nest can reduce attic airflow across an entire eave section. Replace a cracked vent body rather than patching it.
Signs That Your Soffit Vents Need Professional Attention
Call a ventilation professional if you observe ice dam formation, frost on roof sheathing, mould on attic framing, or attic temperatures more than 10°C above outdoor air. Each signals a systemic failure. Schedule a full inspection before the next heating season.
Addressing Common Misconceptions About Soffit Venting
A few ideas about soffit venting circulate widely and are worth correcting directly.
Myth 1: More Vents are Always Better
More soffit intake is not always better. Excess intake relative to exhaust creates negative pressure that draws warm, humid air into the attic through ceiling gaps. Stay within the 50/50 to 60/40 intake-to-exhaust range.
Myth 2: Soffit Vents are Just for Aesthetics
Soffit vents are the intake side of the attic’s passive ventilation system. Without them, ridge and roof vents operate at a fraction of their rated capacity. A ridge vent on a sealed soffit accomplishes very little.
Myth 3: You Don’t Need Soffit Vents if You Have Roof Vents
Roof vents without soffit intake draw air through whatever gaps exist: roof penetrations, gable end gaps, or ceiling cracks. In winter, this pulls conditioned air from the living space into the attic. NBC 9.19.1 requires soffit venting because eave-level intake makes passive attic ventilation reliable and predictable.
Frequently Asked Questions on Soffit Venting Requirements
What is the Best Location for Soffit Vents?
Soffit vents belong at the eaves, distributed evenly along the full eave length. This places intake at the lowest point of the attic, maximising the stack effect. Uniform distribution along both eaves outperforms a cluster on one side.
How Often Should I Inspect My Soffit Vents?
Inspect twice a year: late fall before the heating season and early spring after snow melt. For homes with blown-in insulation, check the eave line periodically to confirm baffles are still holding insulation clear of the vent channel.
Can I Install Soffit Vents Myself?
Yes, for individual round or rectangular vents in an existing soffit panel. Cut the opening, fit the vent body, install rafter baffles. Full soffit replacement with perforated aluminum panels is better suited to an experienced installer; alignment and trim transitions are difficult without prior experience on similar work.