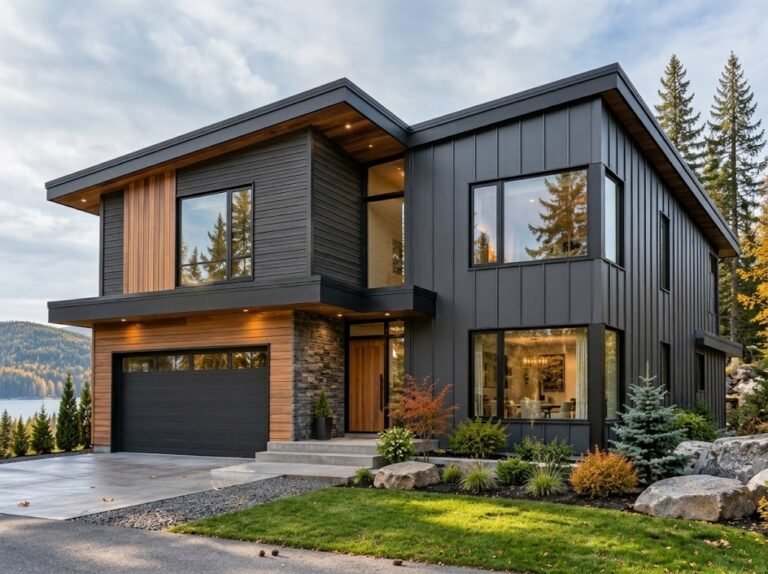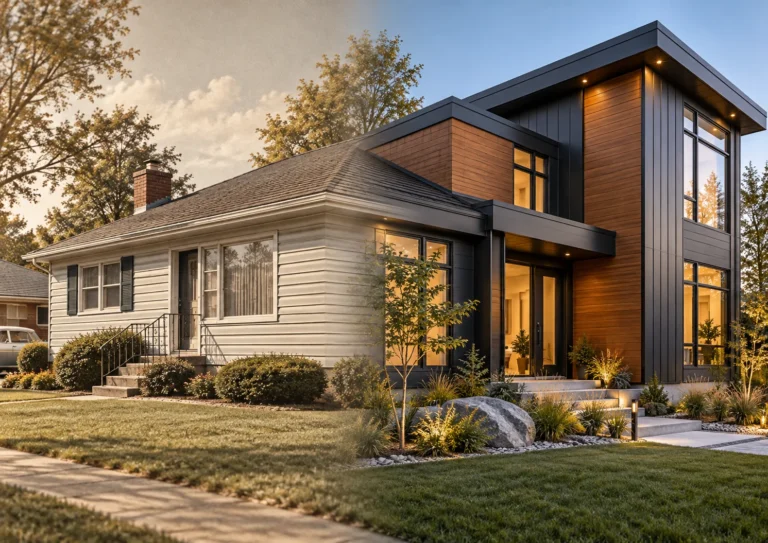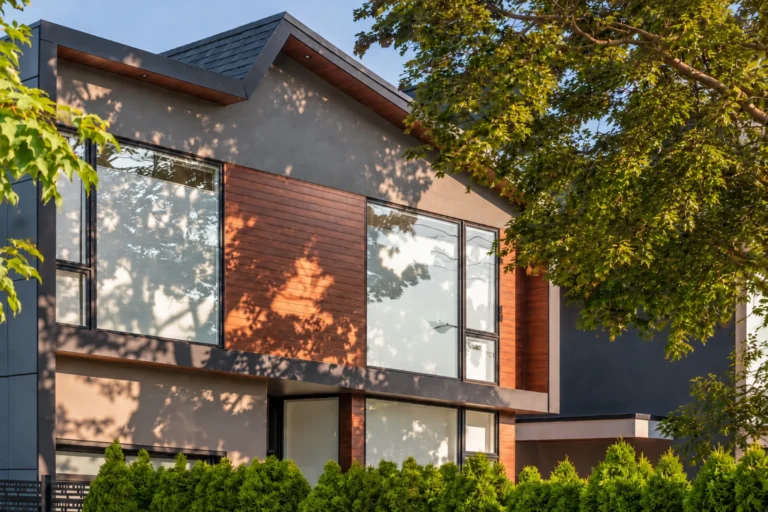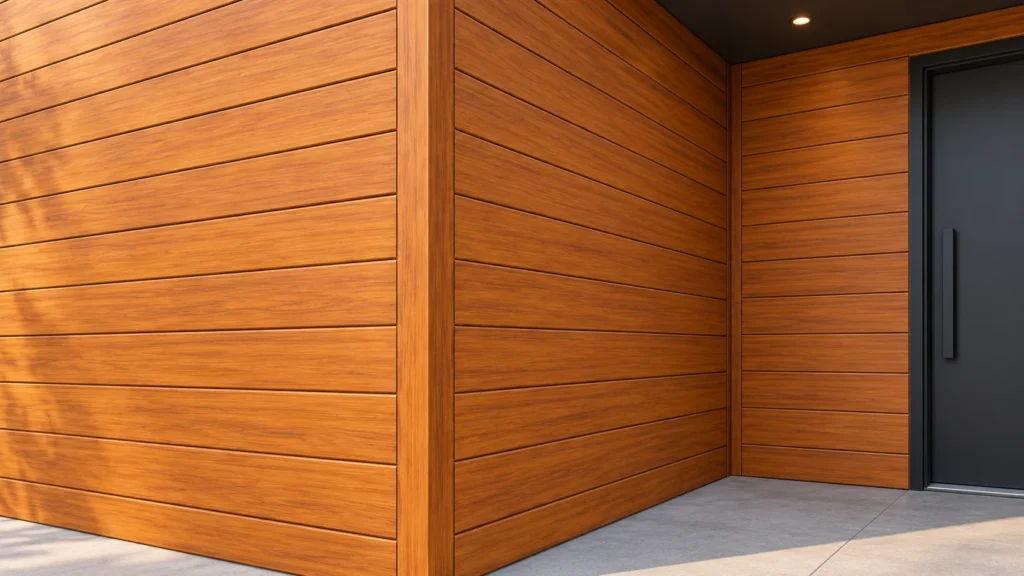
Aluminum siding corners finish the junction where two clad walls meet. On a traditional lap-sided house, that may mean a separate corner cap for every course of siding. On another building, it may be a continuous corner post running up the wall. Modern extruded siding systems use purpose-made profiles that work with their planks and attachment details.
These options differ in appearance, dimensions and installation method. Identifying the existing corner is the first step in a repair; choosing a compatible corner is part of planning a new siding installation.
Types of Aluminum Siding Corners
Individual Aluminum Siding Corner Caps
Individual corner caps cover the ends of horizontal lap siding at an outside corner. Each cap corresponds to a siding course, producing a stepped outline that follows the wall’s horizontal lines.
They are usually formed from sheet aluminum, with shaped edges or flanges that fit the siding. Because the caps follow individual courses, the rows on adjoining walls need to align.
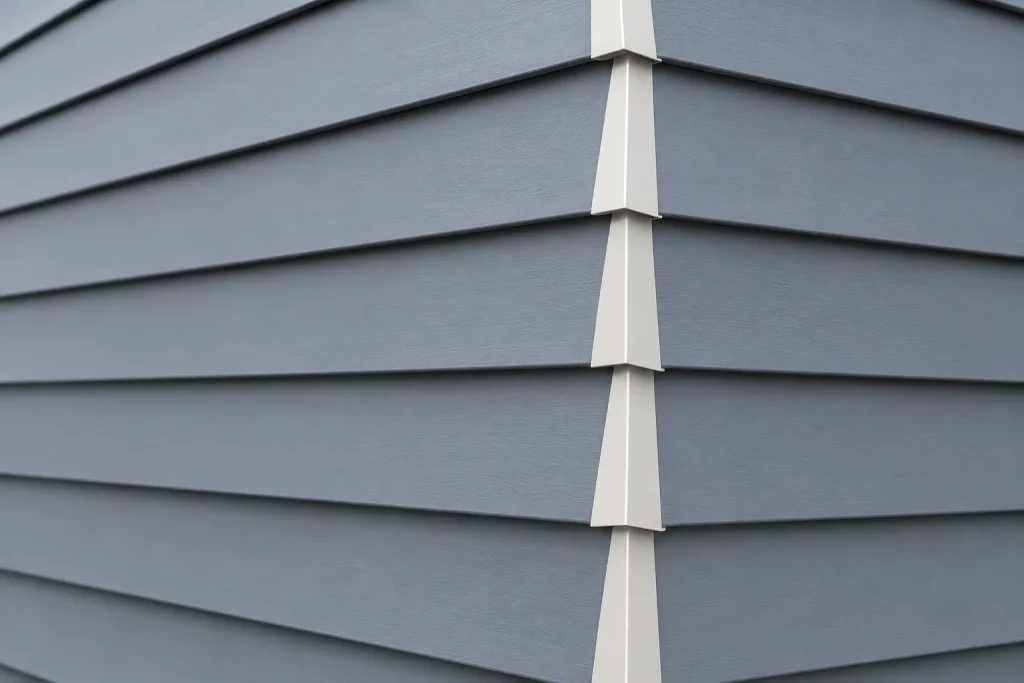
This arrangement is common on older aluminum-sided homes. A damaged cap may be replaceable individually, provided its fastening points are accessible and a compatible replacement is available.
Continuous Corner Trim and Outside Corner Posts
A continuous corner profile creates a vertical band instead of a series of separate caps. An aluminum siding outside corner post wraps an outward-facing edge; an inside corner profile finishes a recessed junction.
Formed-sheet posts can include fastening flanges and receiving channels for the siding ends. The post’s face width and channel depth must suit the siding’s projection, including any backing behind it.
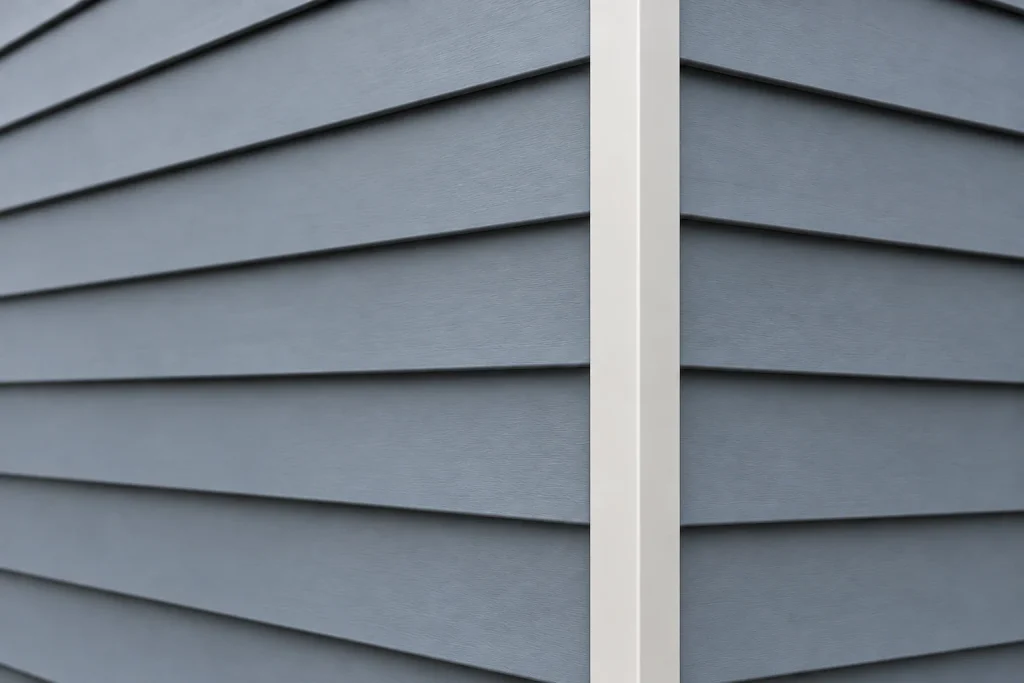
This is a different appearance from individual caps: the vertical trim remains visually continuous as the siding courses meet it.
Extruded Aluminum Siding Corner Profiles
Extruded corners are manufactured by forcing aluminum through a shaped die, rather than folding sheet metal. The process allows receiving channels, fastening flanges and the visible face to be formed within one consistent cross-section.
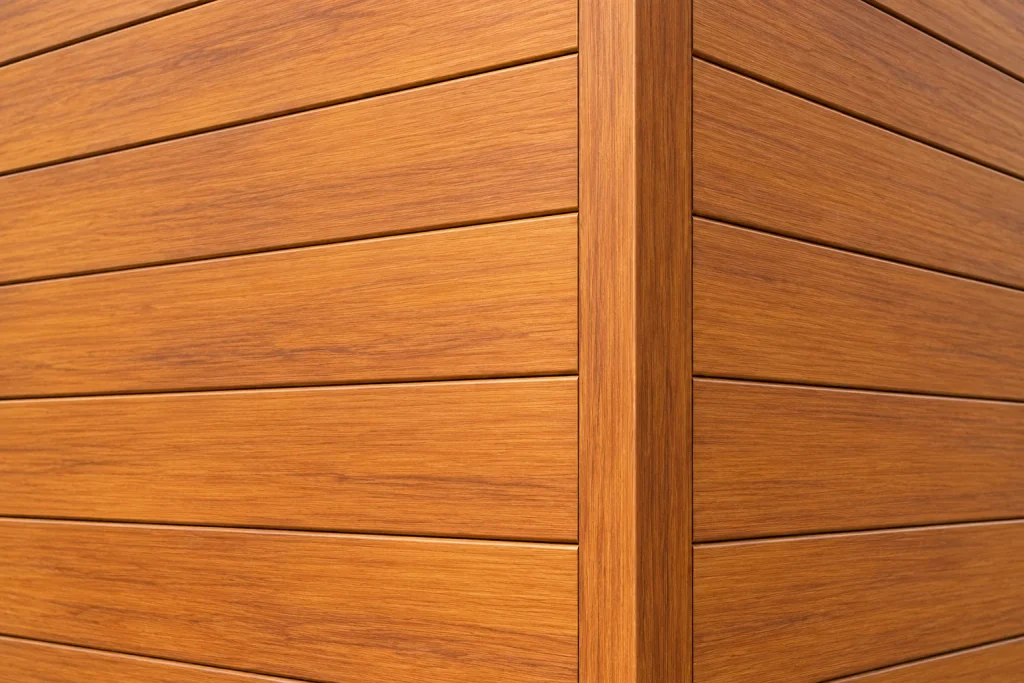
These profiles are used with modern extruded siding systems. Their geometry is specific to the assembly, so a corner from one system should not be assumed to fit another.
Inside vs Outside Aluminum Siding Corners
Inside and outside describe the wall geometry. Either condition can occur on the exterior of a building.
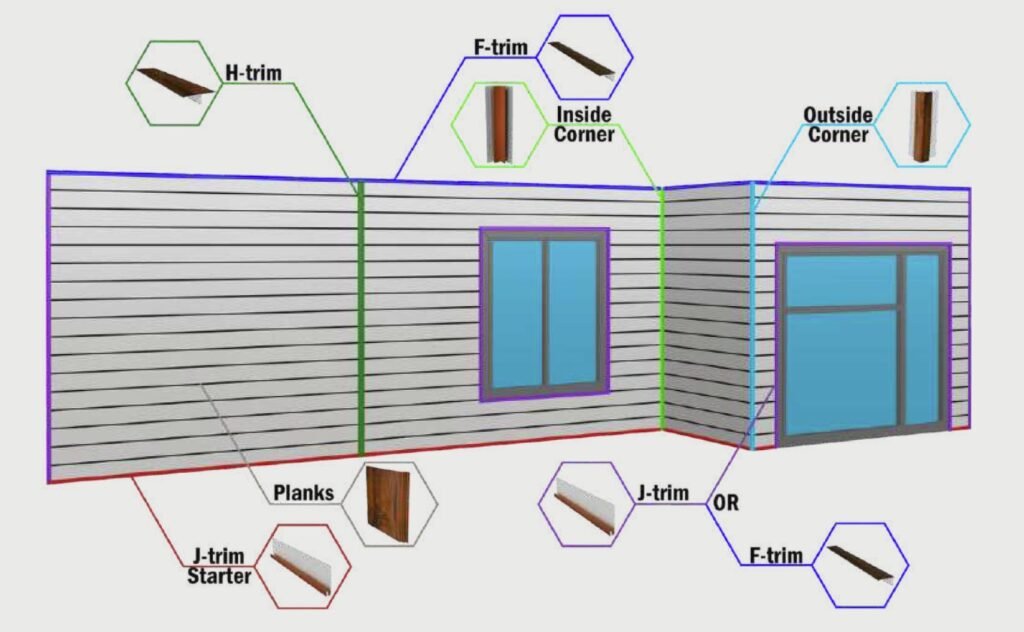
| Corner | Where it is used | Typical location |
|---|---|---|
| Inside corner | A concave junction where two wall faces form a recess | Where the back wall of a recessed entrance meets its side wall |
| Outside corner | A convex junction where the cladding wraps around a projecting edge | The exposed outer edge of a building, bump-out or clad column |
An aluminum siding inside corner trim receives or finishes the siding at the recessed junction. Outside corner trim covers the exposed turn between the adjoining wall faces.
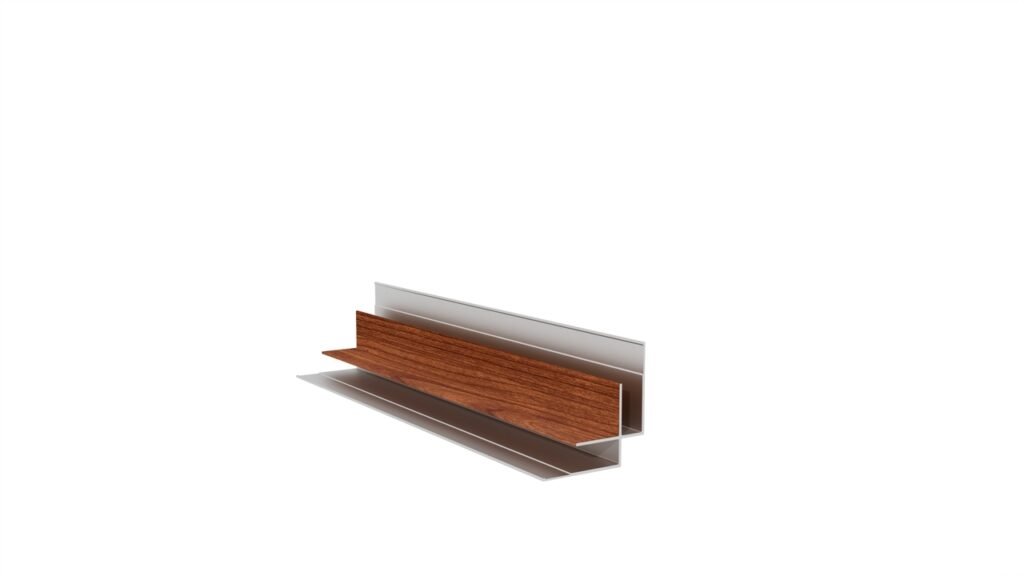
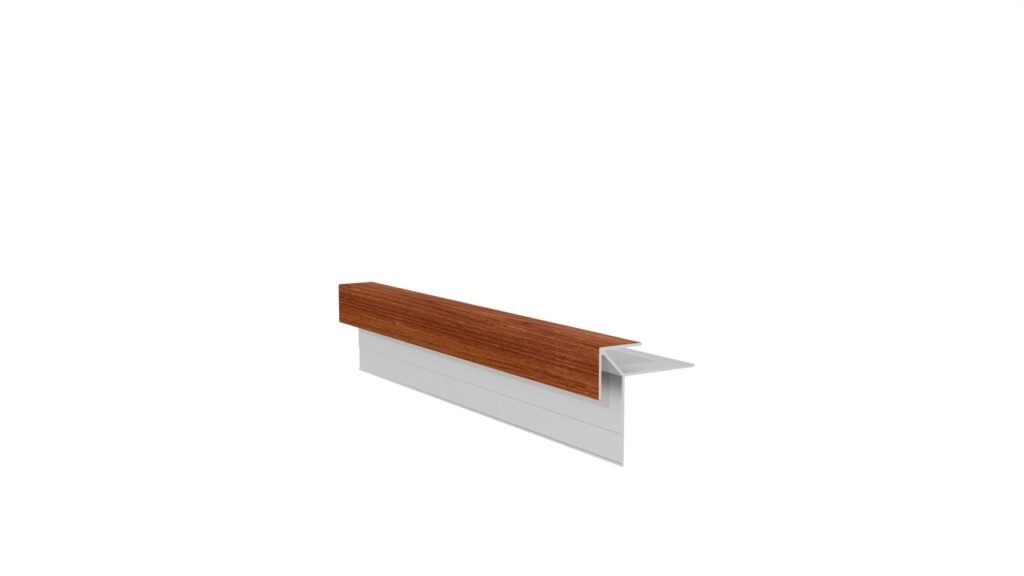
A projecting addition can create both conditions: outside corners at its exposed edges and inside corners where its side walls meet the original building. The individual junction determines which profile belongs there.
Individual lap-siding corner caps are generally outside-corner components. They should not be confused with inside corner trim or with flat-wall joint covers.
Aluminum Siding Corner Sizes
Individual corner pieces are available in several nominal sizes, including 6, 8 and 12 inches, depending on the product. These labels relate to the siding course the cap is intended to accommodate. They do not describe a continuous post’s height or guarantee that every similarly labelled cap will fit.
Compare the actual drawing with the existing siding. The cap’s overall height, exposed height and overlap can differ. Its bottom return also needs to fit the siding’s lap.
An 8-inch-wide panel containing two smaller simulated courses is not automatically compatible with a cap designed for a single 8-inch lap profile.
What to Measure Before Ordering
| Measurement or detail | Why it matters |
|---|---|
| Visible siding exposure | Establishes the distance between the horizontal course lines |
| Overall cap height and overlap | Shows how the replacement fits beneath the piece above |
| Face width on each wall | Determines how much of the siding end is covered |
| Projection and bottom return | Must fit the depth and shape of the siding lap |
| Tabs, flanges and fastening holes | Determines whether the replacement can attach correctly |
| Surface texture and colour | Helps avoid a visibly mismatched repair |
For continuous trim, also measure the required vertical length and receiving-channel dimensions. For an extruded system, use the profile drawing or component reference from the original supplier.
Matching Corner Colours and Woodgrain Finishes
When replacing old aluminum siding corners, the closest colour name may still look different from the wall. Compare a physical sample against the cleaned existing siding, since weathering and surface dirt can affect the match.
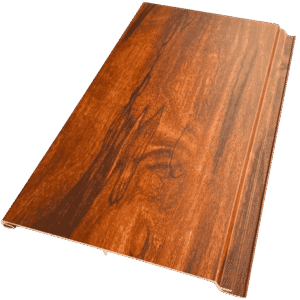
Also distinguish between embossed woodgrain texture and a printed or sublimated wood-look finish. A textured cap painted one solid colour will not reproduce the appearance of siding with a multicolour woodgrain pattern.
For new installations, select the corner finish with the siding. Matching trim keeps the material appearance consistent around the building; contrasting trim can coordinate with window frames or deliberately outline a projection.
VEDREX manufactures inside and outside corners for its aluminum siding system. The corners can be supplied in the same colour and finish as the main planks, including woodgrain. A woodgrain façade can therefore continue around its corners without changing to plain painted trim. The available options are shown in the VEDREX finish collection.
How to Install Aluminum Siding Corners
Installation depends on the corner’s construction. Individual caps and continuous posts follow different sequences, and requirements for sheet siding should not be transferred to extruded planks.
Installing Individual Corner Caps
For a compatible horizontal lap-siding system, the general sequence is:
- Establish matching course heights on the adjoining walls.
- Leave the siding-end clearance specified for the cap.
- Fit the cap’s lower flanges into the siding’s butt or lap detail.
- Secure it through the designated fastening point.
- Continue with the next course and cap as the system requires.
Some systems require each cap to be fitted before the next siding course is installed. They cannot all be treated as covers added after both walls are complete.
Installing Continuous Corner Posts
Continuous formed-sheet posts are generally positioned before the siding. The installer checks that the post is plumb, fastens its flanges as specified, and fits the siding into its receiving areas.
Where multiple lengths are needed, use the manufacturer’s overlap detail. Top and bottom closures, fastening spacing and movement clearances also depend on the profile; there is no single dimension that applies to every aluminum corner.
Installing Extruded Corner Profiles
VEDREX’s installation sequence places inside and outside corners before the field planks. The planks then enter the corner trim while retaining the required movement clearance.
Aluminum movement varies with length and temperature change. The VEDREX technical guide gives an example of approximately 5 mm of movement over a 19-foot plank for a 30°C temperature change. This is not a universal instruction to leave 5 mm at every end: use the guide’s expansion chart and positioning instructions for the installation.
The VEDREX Installation and Maintenance Guide provides the fastening and component sequence for the system.
Maintain the Water-Management Detail Behind the Corner
Corner trim finishes the cladding junction. Water management also depends on the weather-resistive barrier, flashing and drainage provisions behind it.
The National Research Council Canada explains how rainscreen walls manage water behind the cladding: the exterior cladding limits rain entry, while a second line of defence intercepts water that gets through and directs it back outside. When installing or repairing aluminum siding corners, preserve the wall’s drainage paths and apply sealant only where the manufacturer’s instructions and wall details require it.
Aluminum Siding Corner Replacement
Before removing a damaged corner, establish whether the damage affects only its finish, the shape of the component, or the wall behind it. A surface scratch, a crushed receiving channel and loose attachment require different work.
Replacing Old Aluminum Siding Corner Caps
Photograph the existing corner and obtain a matching sample before removing serviceable pieces. Check how the damaged cap’s upper fastening tab and lower flanges are held, including whether another cap or siding course covers the fastener.
An individual replacement may be practical when the surrounding siding is sound. If access requires bending adjacent panels or breaking their locks, the repair needs a wider plan than simply pulling off the visible cap.
Older profiles may be discontinued. Compare a proposed replacement’s cross-section and attachment details, rather than accepting a similar-looking face as proof of compatibility.
Replacing a Continuous Corner Post
A continuous post may have concealed fastening flanges behind siding on both walls. Depending on the system, replacement can require releasing adjoining siding or using a specifically approved repair-cover method.
Do not assume that a new post can be slipped over the old one. An overlay changes the corner’s dimensions and may interfere with siding coverage or movement unless it is designed for that repair.
Repairing or Replacing an Extruded Corner
For an extruded system, assess whether an impact has distorted the receiving channel or affected adjacent planks. Surface touch-up cannot restore a crushed profile.
Confirm the replacement component and removal sequence with the system supplier. For VEDREX installations, the profile information and installation documents are available through the technical resources.
Where to Buy Aluminum Siding Corners
The best source depends on the type of corner required:
- Individual replacement caps: siding distributors, exterior-renovation suppliers and specialists carrying older or discontinued components.
- Continuous formed-sheet posts: siding supply stores and building-material distributors, using a confirmed profile drawing or sample.
- Custom formed trim: a sheet-metal fabricator working from an appropriate siding detail and finish specification.
- Extruded corner profiles: the siding manufacturer or its authorized supplier.
Bring photographs, measurements and an undamaged sample where possible. Confirm the siding material the component is intended for: an aluminum corner made for wood or hardboard siding is not automatically suitable for aluminum siding.
For a new VEDREX installation, include the inside and outside corners in the siding order and specify whether they should match the planks or use a contrasting finish. For an existing wall, confirm the fit and installation method before committing to a larger replacement order.